A back room transformation!
I am excited you are here to read about this transformation!
I don't even know where to start! When we first walked through our home before officially becoming homeowners, we knew just what rooms needed some lovin' to make this house our "home"... Well, this room was one of the biggies!!! But we knew just what we wanted to do, but it was going to take quite some time! It sure did, we started demoing November of 2018. And wow, that had almost been a full year!!! 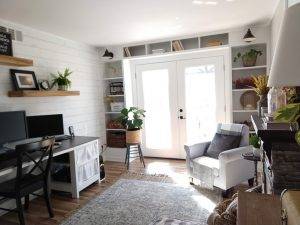
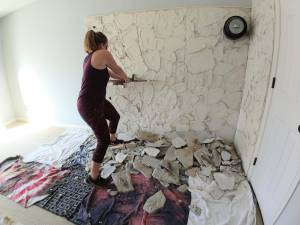
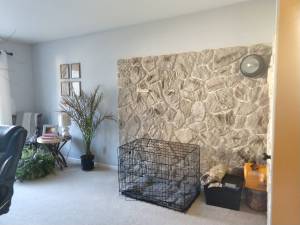
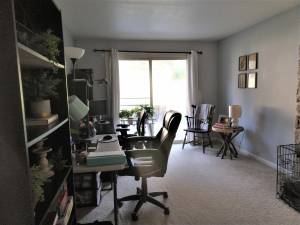
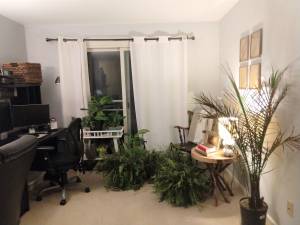
This room originally had a stone wall for a stove that was used by a previous owner, all the walls were covered with a greyish/blue colored paint, ugly cream rippling carpet covered the flooring, and a foggy sliding door that took you to the outdoor patio/deck. We had SO much hard work ahead of us that would take hours upon hours in the evenings and weekends.
Here is the process of the transformation:
- We sat down and sketched out a plan as to what exactly we wanted to do to the room, the layout, furniture, decor... Everything!!!!!!
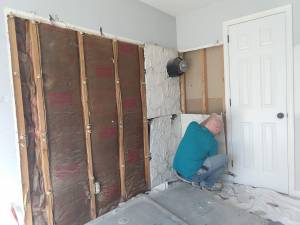
- Tore down the stone wall.
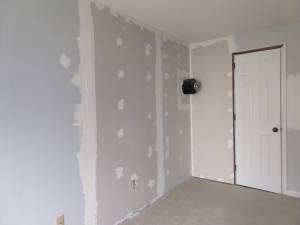
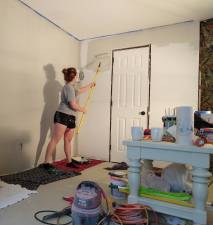
- Drywall was placed, patched and painted.
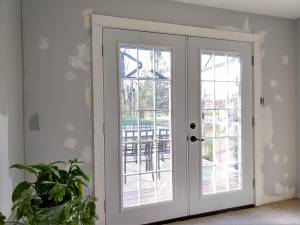
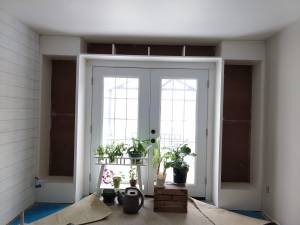
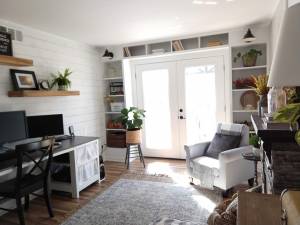
- Tore out sliding door, and placed a new patio door that was purchased at Home Depot, and put in by my Dad and Husband within a couple hours! BTW, Home Depot gave us a quote of $1,200 JUST to install the patio door... As it turns out, just a couple weeks prior my husband helped with a "work day" at a camp he previously worked at, and helped them install one there. So he knew exactly what to do!
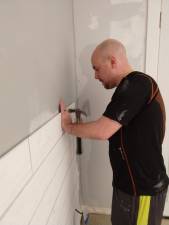
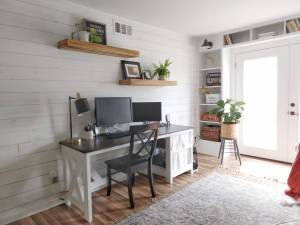
- Bought pre-painted shiplap and applied to the desk side of the room as an accent wall.
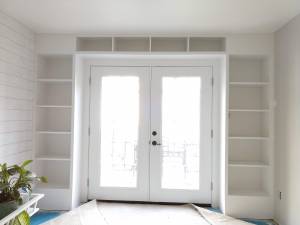
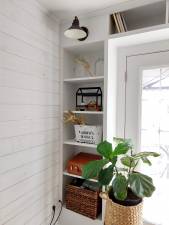
- After shiplap was placed, and walls were painted, Peter made built-in bookshelves! And let me tell you, once those were built and painted... The room looked completely different, they set the room off real quick!
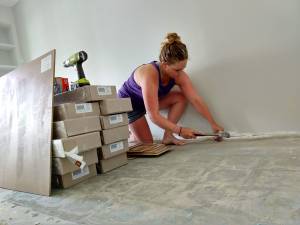
- New flooring was laid down, matching the rest of the home.
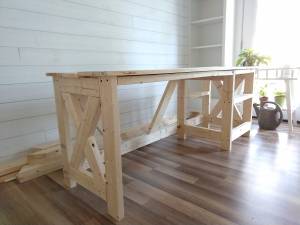
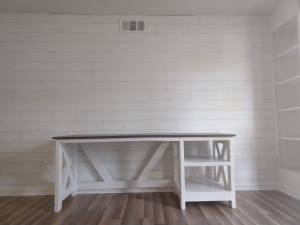
- Peter built our desk out of 2x4's and pine wood sheets (for the shelving).
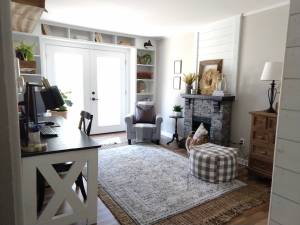
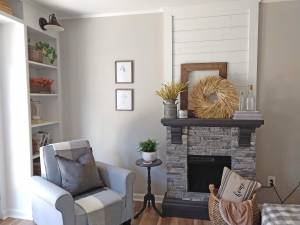
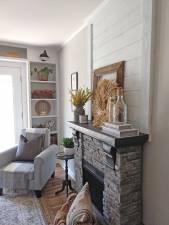
- Placed our newly bought fireplace to where we wanted it and sketched the dimensions for shiplap right onto the wall. Shiplap and trim were then added.
- Crown molding was the very last thing placed to complete our big project!!!
A big secret of ours that we would like to share with you, is we have saved A LOT of $$ just by doing this stuff on our own, I cannot stress enough!! It's ok that you don't know how to build a certain something, guess what??? We learned by watching simple YouTube videos! And it's ok if you don't have the right equipment or tools, phone a friend or family member, or check out a local rental company.
Here is how much we saved roughly:
The desk cost about $60. If we would have bought, we were looking at $100-$200. That saved us $40-$140.
Built- in- book shelving was $80. If we would have went and bought separate book shelves to place right up against the wall on each side of the patio doors, it would have been roughly $140. So that saved us $60.
Based on our previous contractor who came and laid our flooring in the past, it took us 4 hours to lay down the flooring. He charged $250 of a day of work, so that saved us at least $250+.
That total's minimal saving's was $350!!!!!!!!!!!!!!
Here are other ways we saved $$$
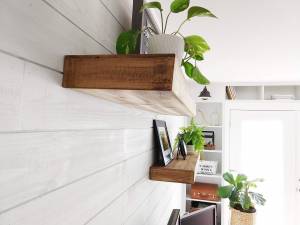
- Planter on wooden shelf, was spray painted
- Found the plant stand that the fiddle leaf occupies, at a yard sale for $2, so I also spray painted that! As well as the side table beside the accent chair!
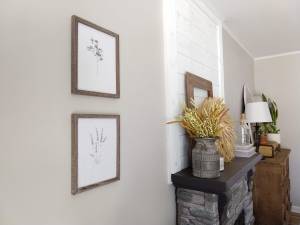
- The frames behind accent chair, I already had. So I found some free floral prints online and printed from home and added to frames.
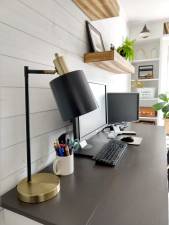
- Desk lamp used to be mint, so I taped it off and spray painted.
- The curtains hiding the computer equip, are actually white cloth rags from Walmart. Peter sewed them around a $2 tension rod we found at Family Dollar!
- Instead of hooking up our barn lights above the built ins to electrical, we used the "magic light trick" (link to my blog on "magic light trick idea" in our downstairs hallway)
- The wood shelving, I patiently waited until Hobby lobby had a great deal..... I got each self 50% off, saving me $60!
- About 85% of the decor that is currently in the room, we already had!
Before:
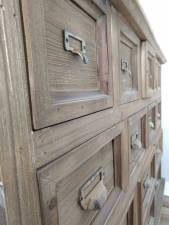
Knowing that our home doesn't have a ton of storage, we knew this was the room to add some, since it's a multipurpose room! The storage unit was a big help as well as the built in book shelving! Besides the lovely decor, we added storage baskets, and if we wanted we could add even more!
That fireplace was bought from Home Depot for $250 on sale!!! It not only looks so pretty, but guess what the big secret is... It gives off heat! That is just perfect for sipping some coffee and watching the snow fall! We are loving our layered rugs! For the longest time we had trouble finding something that fit the space. I was actually looking for a warmer toned rug, but was having trouble finding something that didn't look too red, or pink. So instead we bought a grey, and white rug layered on top of a jute natural rug. Done! The braided rug instantly added warmth to the area, filled more space and gave more cushion beneath our feet!
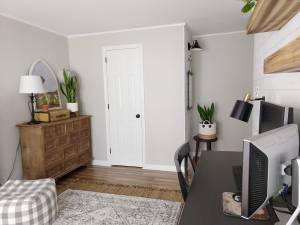
After:
This room previously was used as a multipurpose room(office and seating). We actually ended up imitating the same thing, but SO much better of course!!!!!
(Links to items purchased)
Shiplap Crown molding and flooring:
** Crown molding I will not send a link, there are many options to choose from. It all depends how much width you want with the molding, and the amt of space you want to cover.
Storage unit : I'm sorry I could not find the link for this online
Desk chair (Peter built a bench for our table, so instead of it feeling congested with 4 chairs along with the bench, we put one chair away and brought the other one back for our desk!)
I just cannot express enough besides telling you just how much we love this room! It's so different... It's so cozy, more livable, and just gives you a feeling of who we are:) While Peter is working away, I can sit on the comfy accent chair enjoying a good cup of coffee. Haha, did you catch it, that was not the first time I mentioned coffee... I may just be a coffee lover! Oh, and like I have already mentioned, it's so great we have more storage now!
I have to give HUGE credit to my handy dandy husband who put a ton of hard working hours into the back room! While I did the best I could (also to not get in his way lol) he did everything from: placing the flooring. building the built-in-bookshelves, to placing and fixing drywall, fixing the ceiling like a thousand times, and finishing the room off with the trim and crown molding. I promise I helped him a lot!
** Also my wonderful, selfless and hardworking Father who came for a Saturday to help place the patio door! Oh and for allowing us to borrow much of his equipment, we couldn't have done it without him!!!
Though this room took almost a year, I am thankful we took our time to get it done right! I hope y'all enjoyed this, I had so much fun writing it for you!! Any questions ,or if your looking to redo a space in your home please contact me!!! I'd love to chat over a cup of coffee!
Posted: 10/11/2019
